CONTENTS
- Creating a new matter
- Editing existing matters
- Creating a review database
- Editing a review database
- Editing default settings
- Adding a new user
- Editing users
- Creating a cross-matter AI model
- Editing a cross-matter AI model
Creating a new matter
- On the DISCO home page, click the
 icon and then click Organization Manager.
 - In the Menu dropdown, click Matters.
- On the Matters page, click Create new.
- In the New matter dialog, enter the style, short style, display name, client-matter number, owning organization, and any notes about the matter.
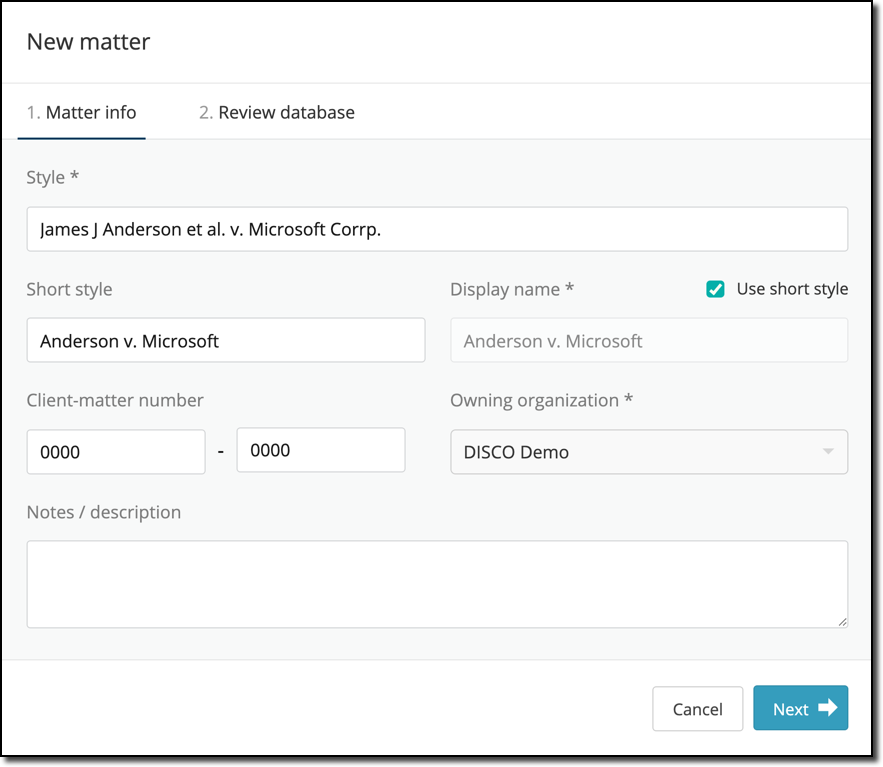
Select the Use short style check box if you want the matter to be listed with the Short style name. The Display name will be used throughout DISCO Review. - Click Next.
- Select the checkbox if you want to create a review database in this matter. If you do, add the name of the database and any billing instructions. Note: Date and time values are normalized to the selected time zone during ingest. Time zone cannot be changed after database creation.
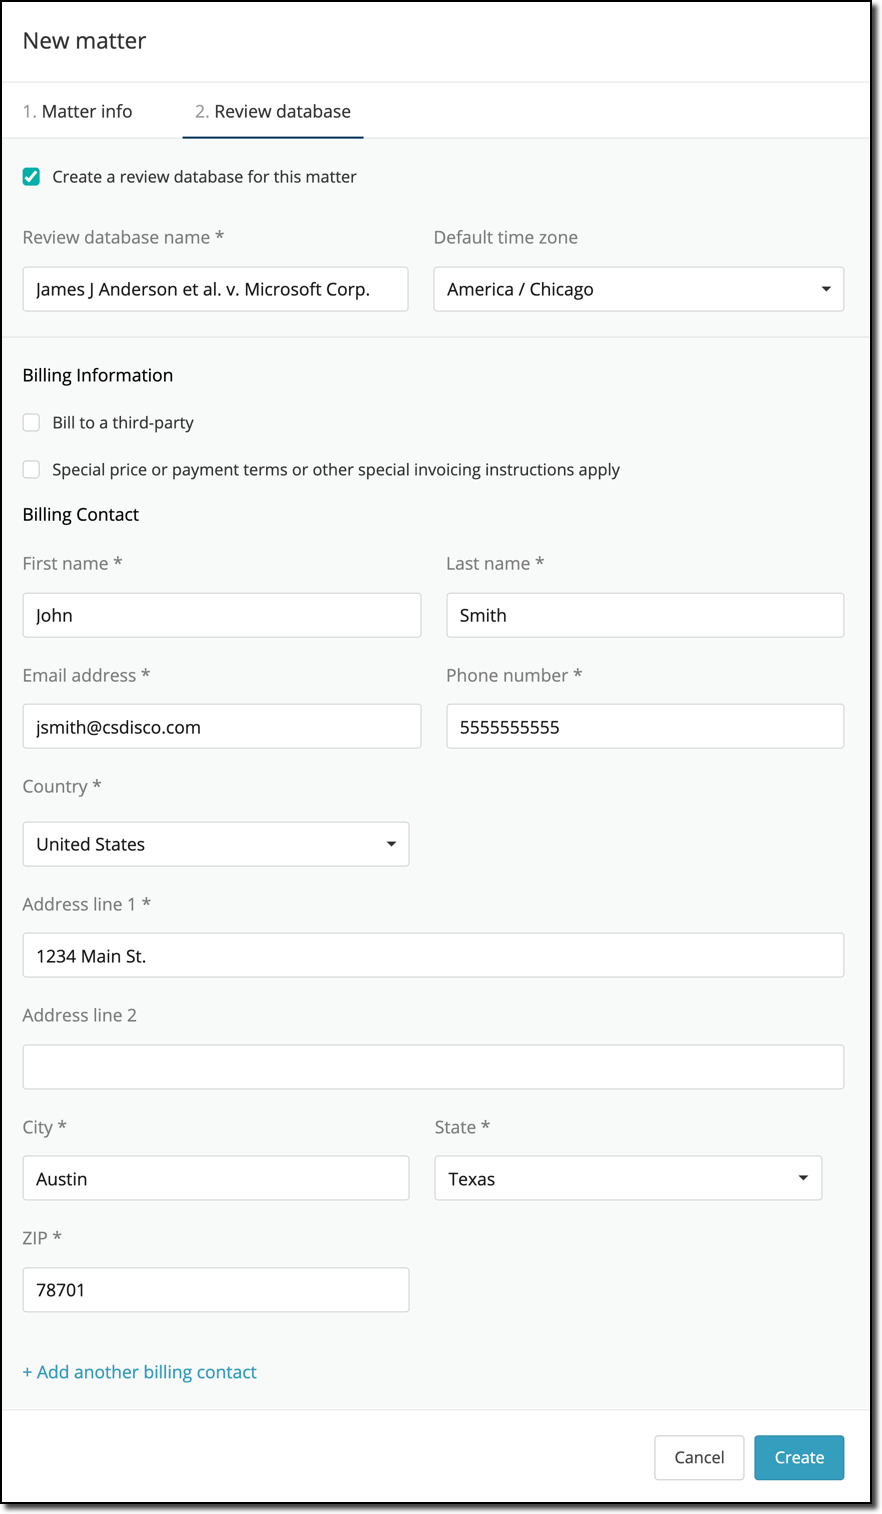
- Click Create. The new matter will appear on your My Matters page.
Editing existing matters
- On the DISCO home page, click the icon and then click Organization Manager.
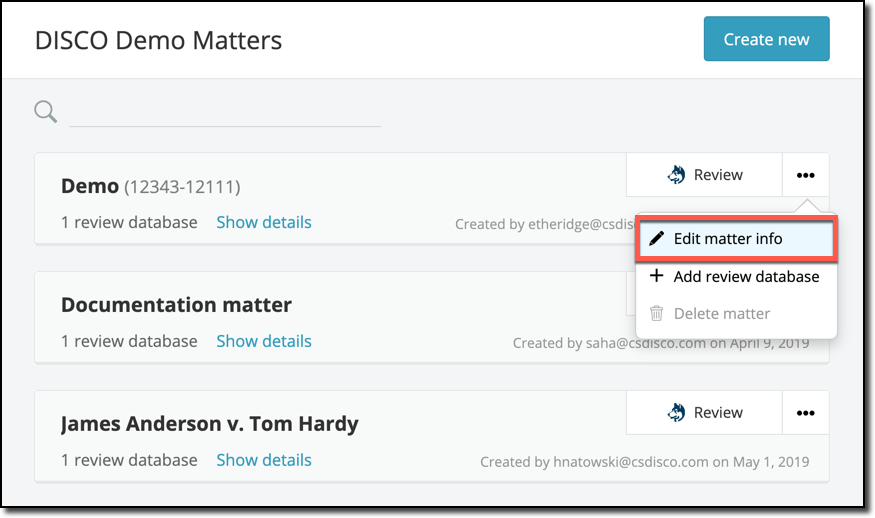
- To the right of the matter you want to edit or delete, click the ellipsis and then click Edit matter info.
- In the Edit matter dialog, you can modify the style, short style, display name, client-matter number, owning organization, and notes about the matter. When you are finished editing, click Save.
Matters with active review databases cannot be deleted until the review databases are deleted or moved to another matter.
Creating a review database
If you want to create a new matter and a new review database, see Creating a new matter above.
If you want to create a new review database under an existing matter, follow the instructions below.
- On the DISCO home page, click the icon and then click Organization Manager.
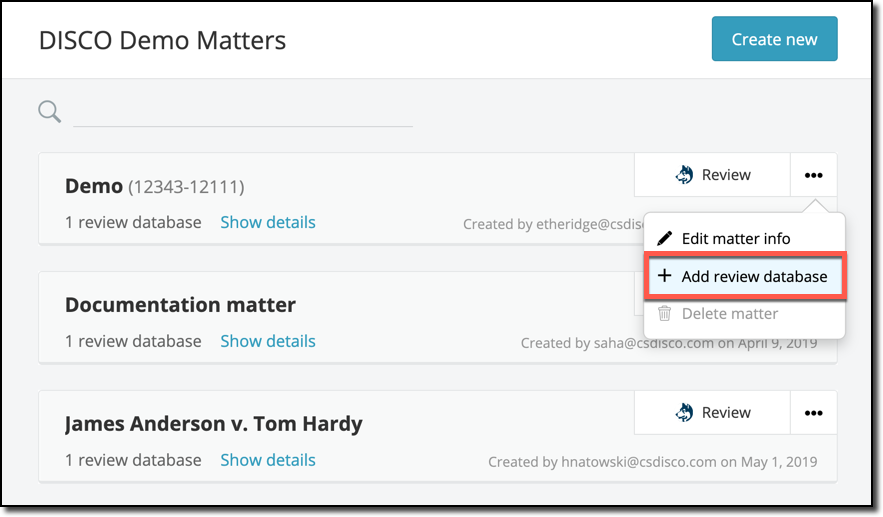
- To the right of the matter you want to edit or delete, click the ellipsis and then click Add review database.
- Select the Create a new review database radio button.
- Enter the review database name, default time zone, and any billing instructions. Time zone and Billing contact information will be pre-filled with any default values previously entered in the settings page by your Org admin. Note: Date and time values are normalized to the selected time zone during ingest. Time zone cannot be changed after database creation.
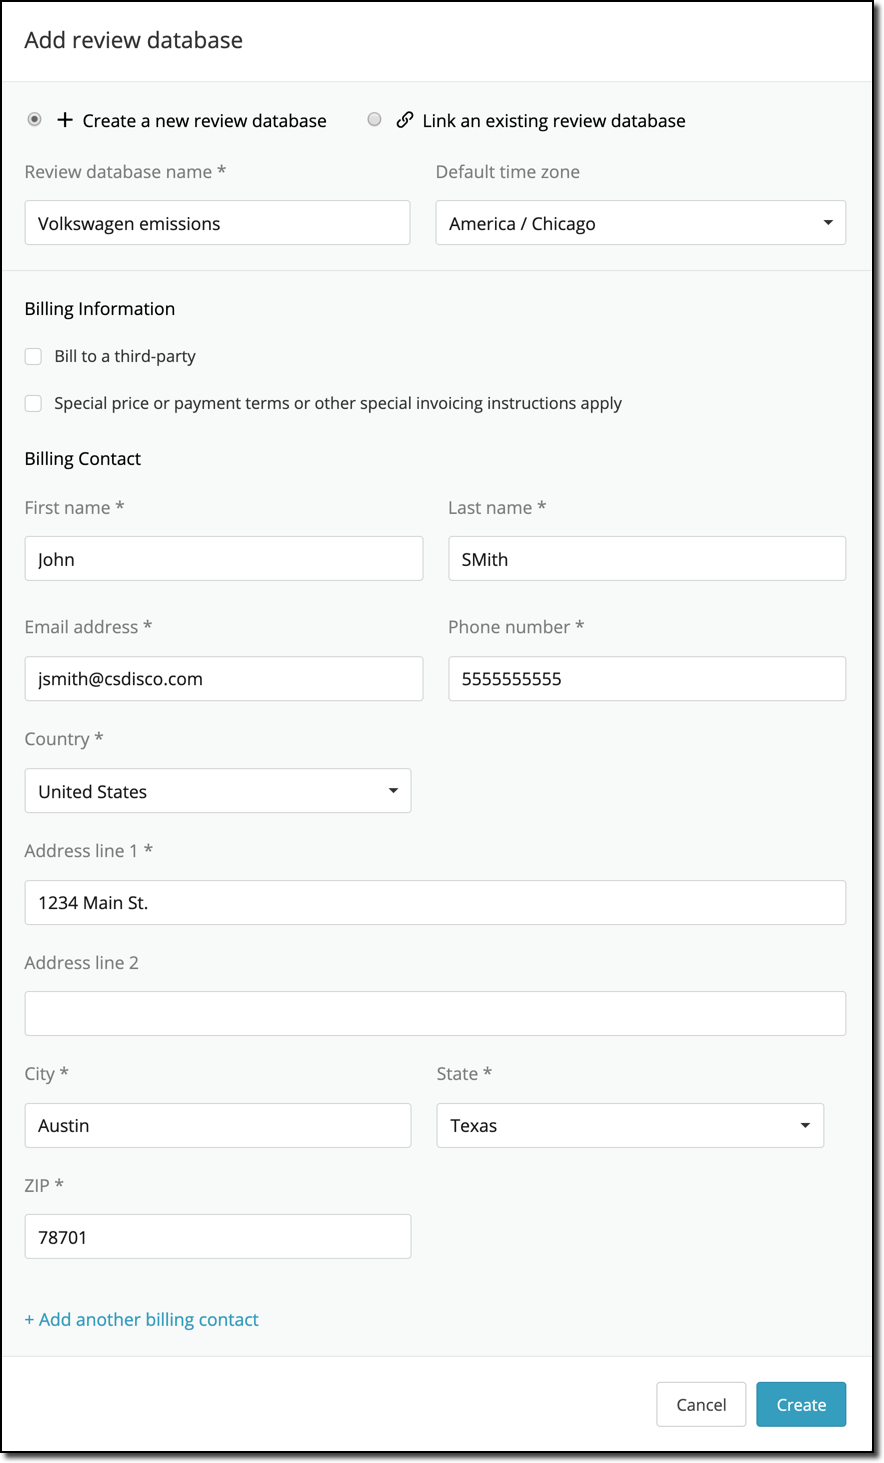
- Click Create.
Editing a review database
- On the DISCO home page, click the icon and then click Organization Manager.
- In the matter card for the matter in which the review database is located, click Show details.
- Click the ellipsis and then click Edit review database info.
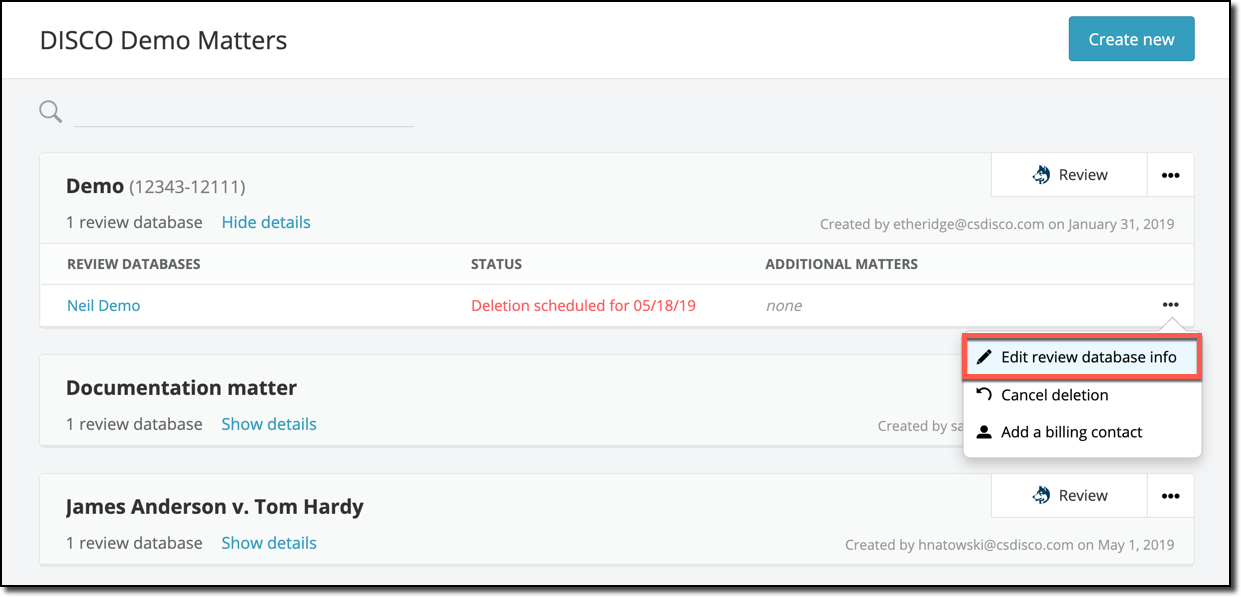
- Modify the review database name, and then click Save.
Editing default settings
You can edit the default review database time zone and Billing contact information from the Settings tab of the organization manager. The new defaults selected will be used to prepopulate the review database creation form (see Creating a new matter). If no defaults are selected, the review database creation form will have no prepopulated values.

Default review database time zone: Select from the drop down menu the time zone which will be used by default in the review database creation form. You can always change the prepopulated value in the creation form if necessary.
Default billing contact(s): You can enter up to 5 billing contacts to be used to prepopulate the database creation form. After entering the information for the first billing contact, select ‘Add a contact’ to continue adding more default billing contacts. You can remove any or all of the default billing contacts you have entered at any time. Finally, one of the billing contacts must be specified as the primary contact.
(Note: Changes made to the time zone or billing contact settings will only apply to new databases; they will not be propagated retroactively to existing review databases)
Adding a new user
- On the DISCO home page, click the icon and then click Organization Manager.
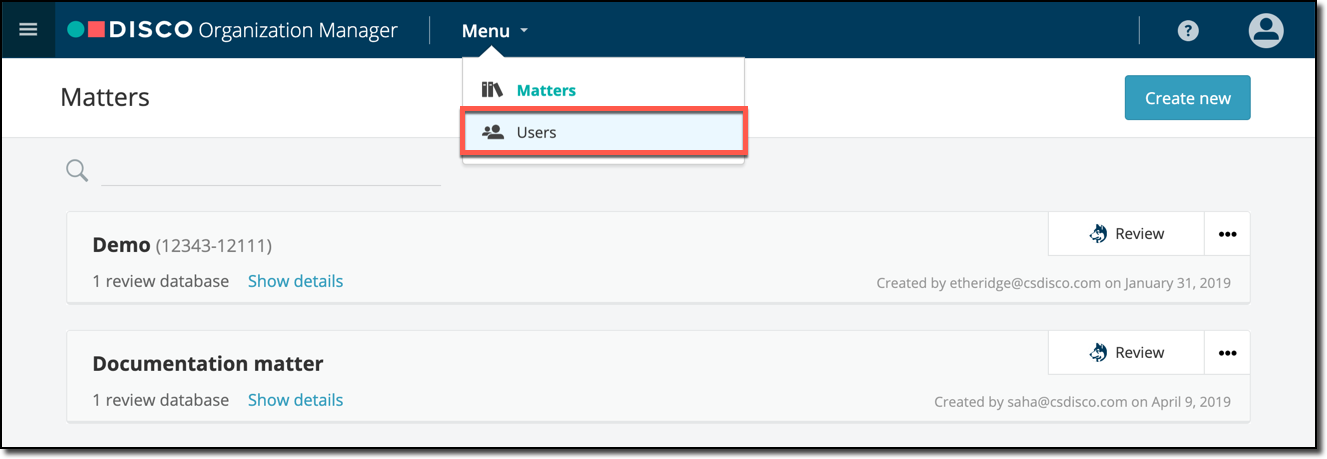
- In the Menu dropdown, click Users.
- Click Create new.
- In the Create user dialog, enter an email address and first and last name of the user.
- In the Organization dropdown, select the organization the user belongs to.
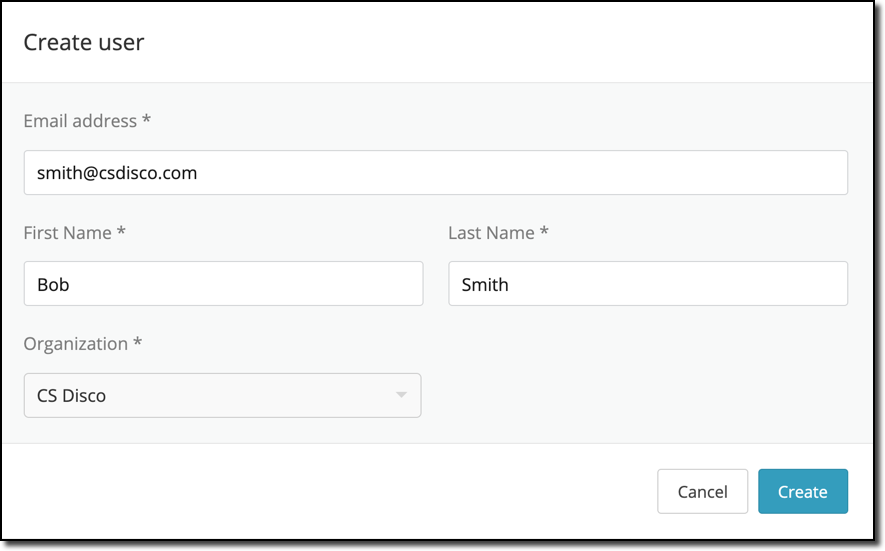
- Click Create.
Editing users
- On the DISCO home page, click the icon and then click Organization Manager.
- In the Menu dropdown, click Users.
- To edit the user’s permissions, hover over the user and select or deselect the ORG. ADMIN and CAN CREATE MATTERS checkboxes.
- To see details about the user and their associated review databases, click the dropdown arrow.
- To edit a user's profile, click the pencil icon.
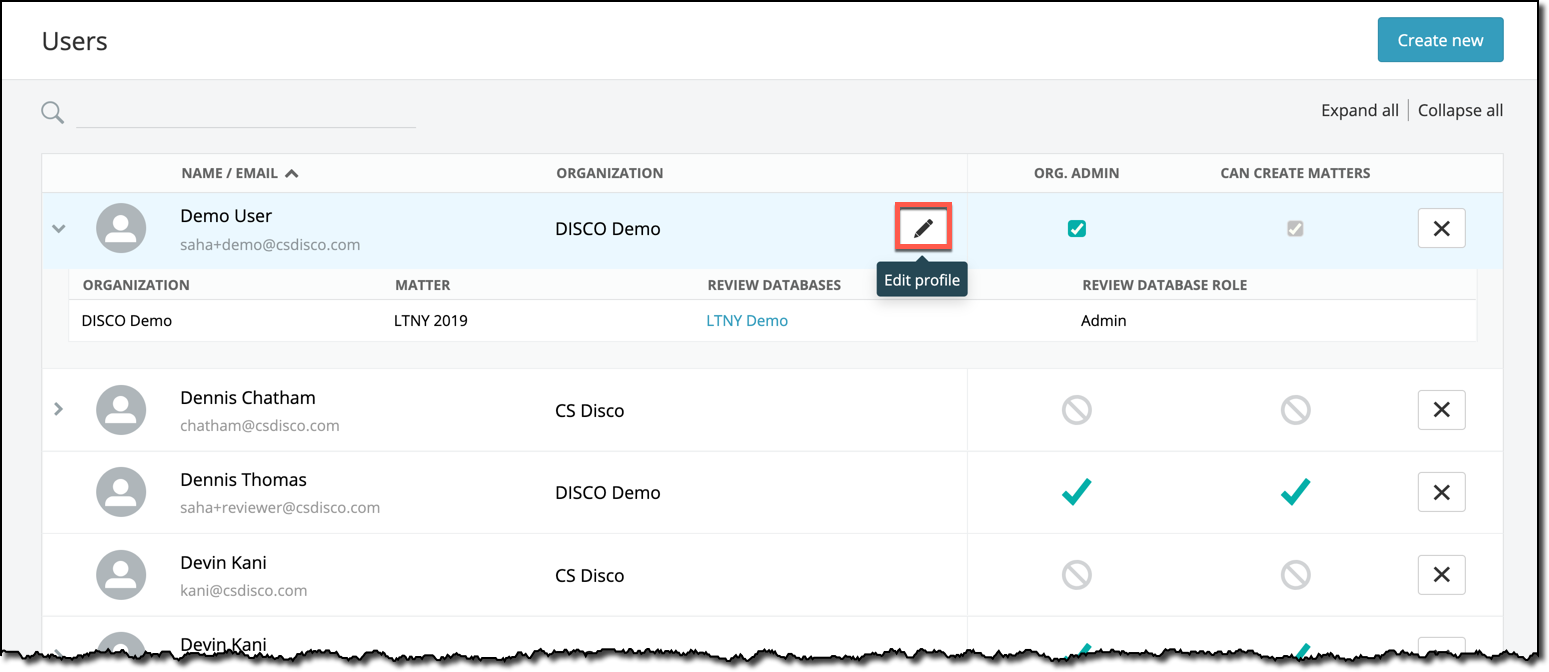
To remove the user from your organization and your organization’s review databases, click the X.
To edit a role, you will need to navigate to the review database and make the changes from the Review Team page. See Managing users, roles, and permissions in a review database for information. - In the Edit user dialog, modify the email address, name, or organization, and then click Save.
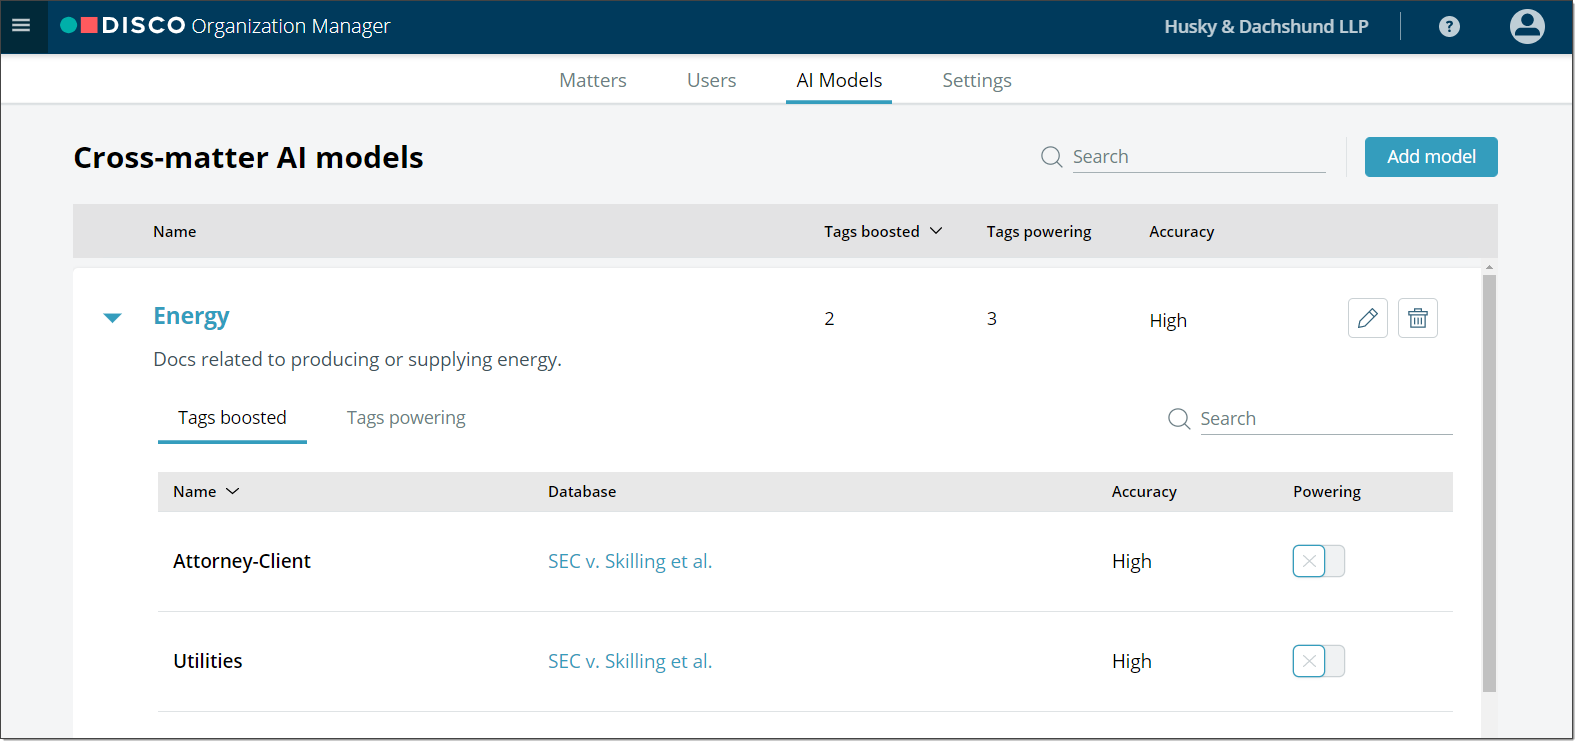
Creating a cross-matter AI model
- In the Organization Manager, click the AI Models tab.
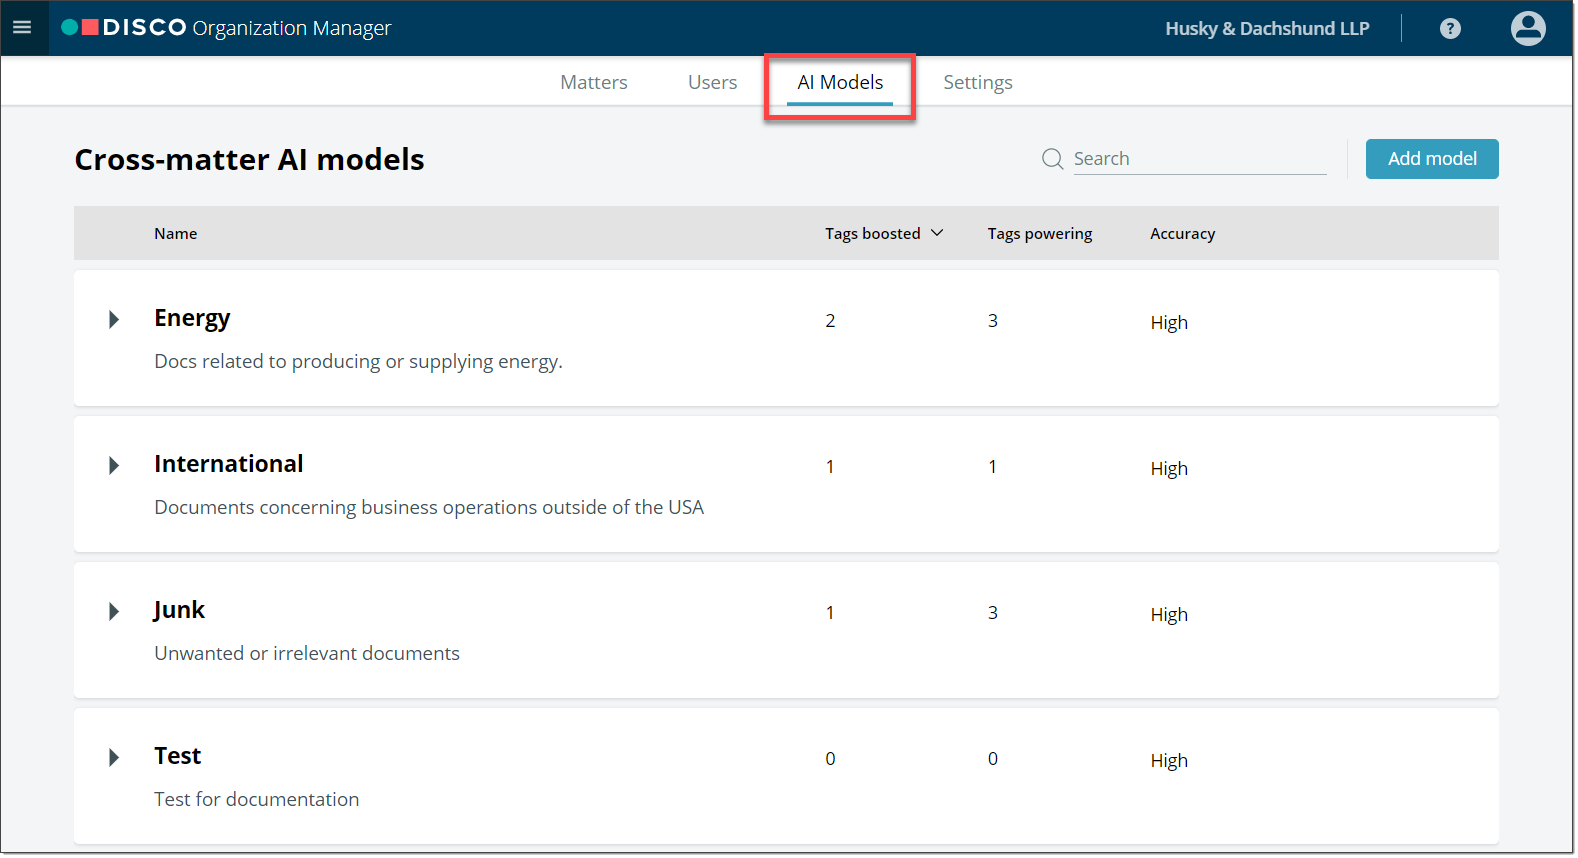
- Click Add model.
- Enter a Name and Description of the model.
- Select at least one predictive tag from an existing review database to power this model.
- Click Save.
Editing a cross-matter AI model
- In the AI Models tab, hover over the model you want to edit and click the pencil icon.
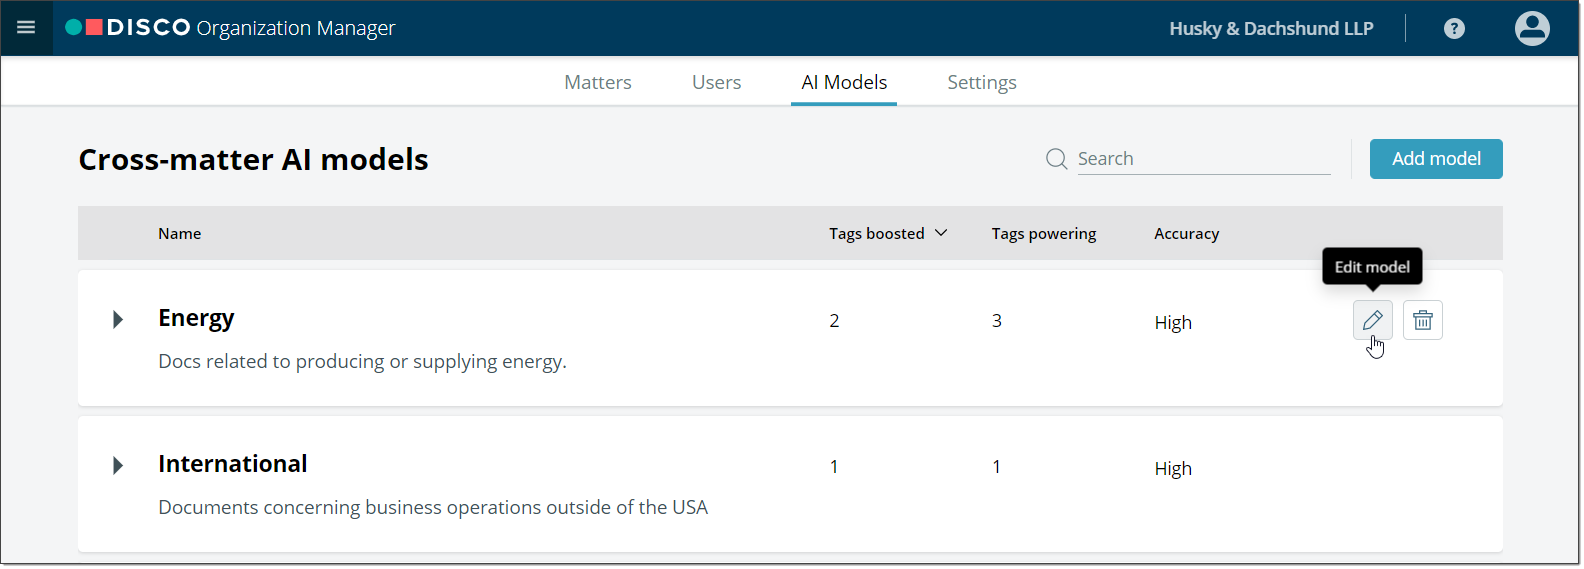
- Select which tags will power the AI model.
- Click Save.
You can preview which tags are boosted by a model by expanding the AI models card. If a tag being boosted by the model also seems appropriate to power the model, then you can toggle the Powering button to include that tag's signals in the model. In the Tags powering tab, the selected tags used to power the model are listed.